Flower
How To Arrange Flowers In A Vase
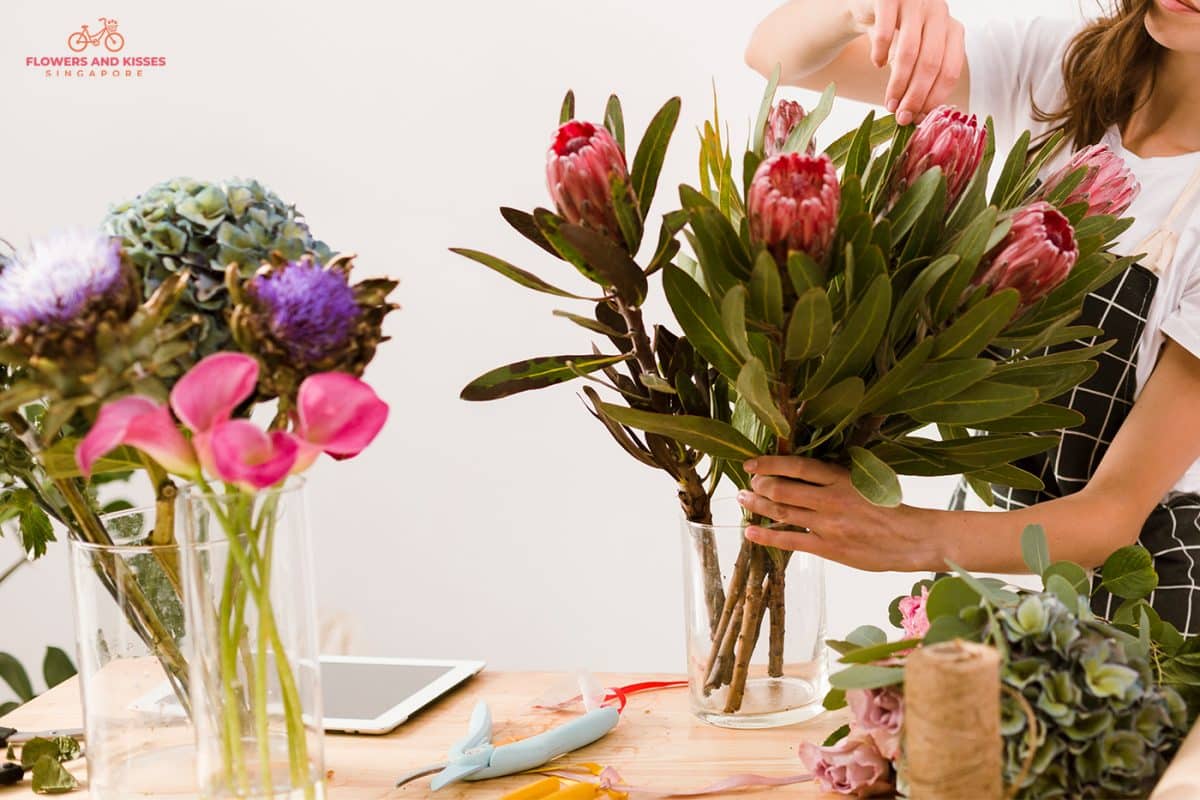
It’s easy to throw a random assortment of flowers into a vase, but the art of flower arranging involves more creativity and technique. Though it may look easy, creating a beautiful floral arrangement and ensuring the flowers retain their colour and freshness requires more effort and thorough preparation.
Have you ever received a large birthday flower bouquet or a random rose bouquet and wondered what to do with it? Instead of waiting for the flowers to wither, learn how to arrange them in a vase and display them in your home or work desk to liven your space up! We have prepared a step-by-step guide to help you put together and display your breathtaking bouquets.
Step 1: Choose the design of your flower arrangement
Before shopping for flowers, those who don’t already have a bouquet of flowers to work with can select a colour scheme as this will help guide the design of your floral arrangement. It’s easy to source flowers when you already know the colour scheme you want to follow, and you will choose flowers that complement each other. One way to make a floral arrangement design more striking is with monochromatic schemes, which display the different hues of the same colour. Another great way to make a statement with your floral design is to use complementary colours that will contrast each other. The trick is to be open-minded when shopping for your flowers, try picking your favourites with different growth patterns, shapes, and sizes, and see how you can blend them together.
If you are new to floral arranging, we recommend choosing from our selection of floral bouquets. All our rose bouquets are timeless classics, and each flower we use in our bouquets have been carefully chosen by our florists so the colours and arrangements blend seamlessly – perfect for those who are just getting started with floral designs.
Step 2: Cut and prepare flowers
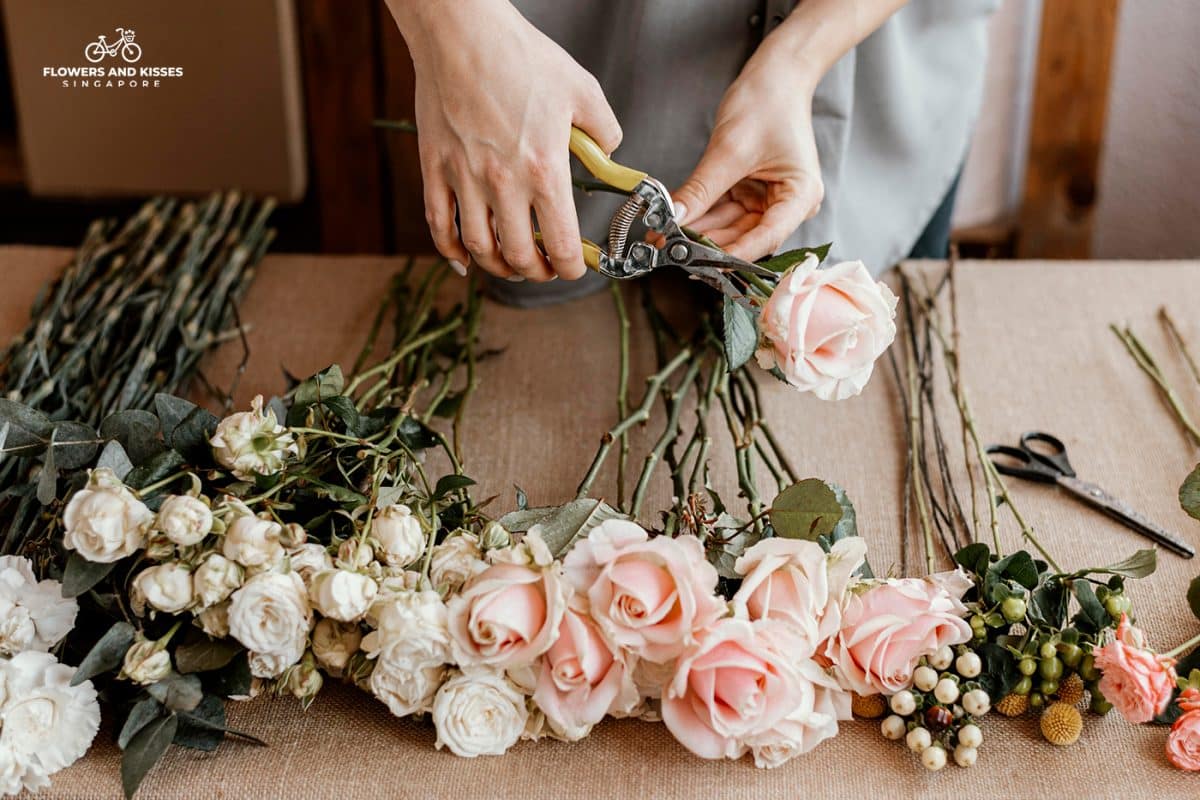
Once you’ve got your hand on your flowers, you may be tempted to arrange them right away. However, it’s important to prep your flowers first so that they can last longer. Start by removing extra leaves and damaged petals. If there are unwanted buds on the same stem as a full flower, remove those as well. Once the stems have been cleaned, make a diagonal cut along the bottom. After you trim the stems, place them in a vase or bucket of water (this does not have to be the end vessel) and add cut flower food.
Step 3: Choose your vase
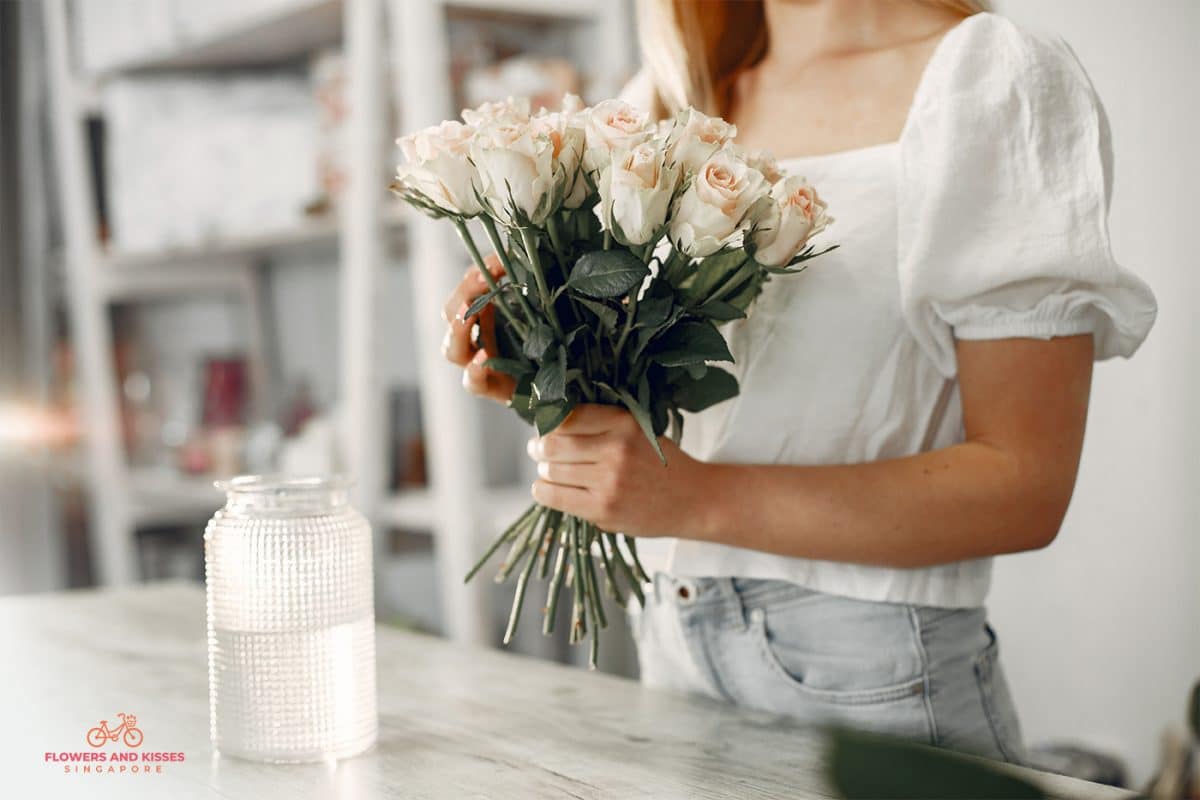
Select a vase or other container according to the type of flowers you’re using. If you want to display tulips, consider a vase with straight sides. For tall branches or heavy flowers, choose a heavy vase. To give your flower arrangements a natural texture, you can display them in woven baskets instead of traditional vases.
Step 4: Prepare your flower vase
Flowers aren’t actually what makes an arrangement – it’s all about the vase you use to hold them. Without a sturdy foundation, your flowers are unlikely to stay in place, and your arrangement may end up falling apart. You can keep flowers in place by taping floral tape over the mouth of the vase. To keep the stems in place, stick them into the grid’s holes.
Step 5: Create a base with greenery
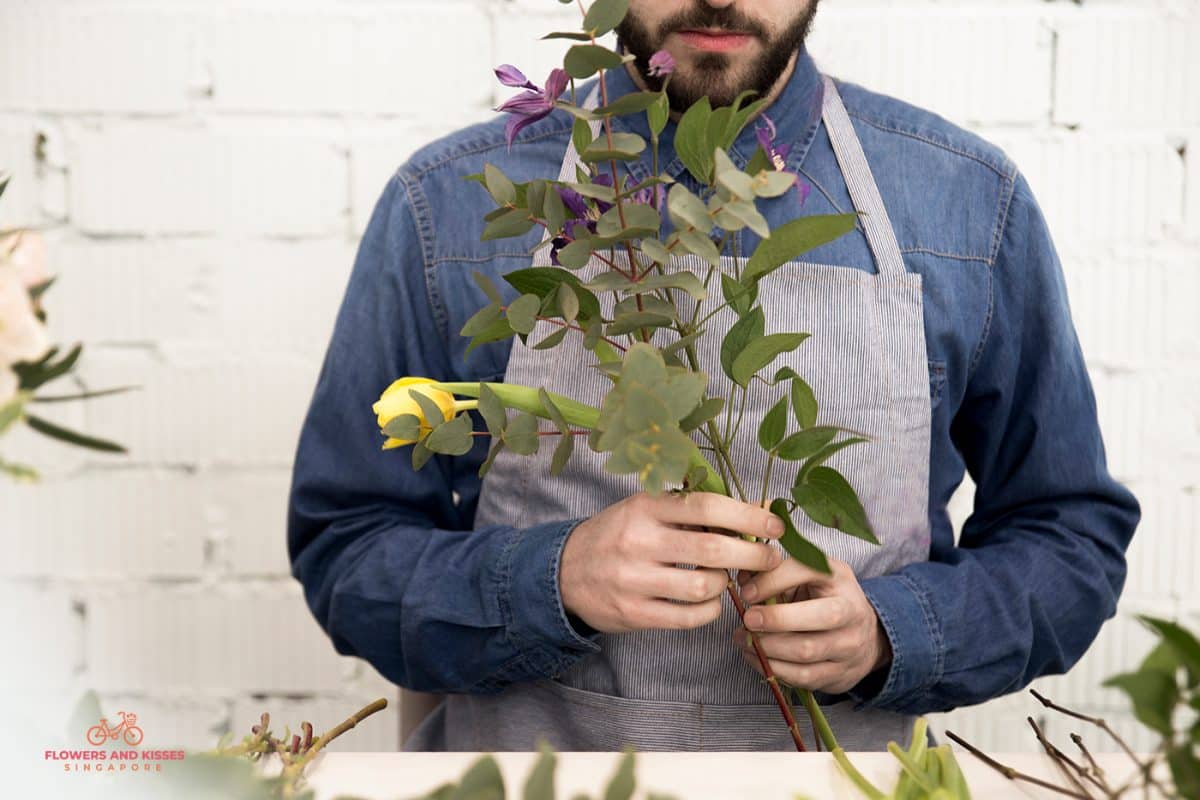
Now for the fun part – start by making a base with greenery. Sprouts of eucalyptus, ivy, and fern leaves are good greenery choices. Using the greenery stems, create an inverted triangular shape. This way, your arrangement will have vertical and horizontal elements. Don’t forget to recut the stems before putting them into the vase.
Step 6: Arrange the focal flowers
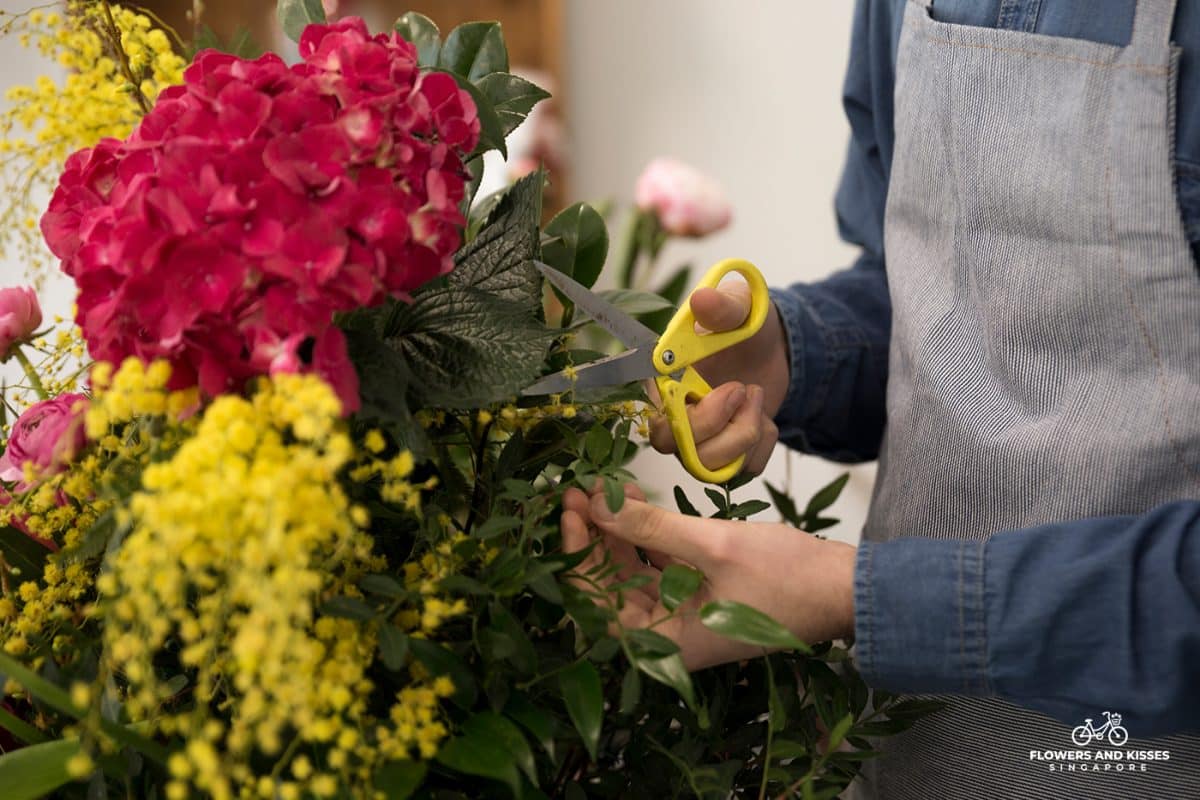
The focal flowers are usually those that are most striking or have distinctive colours or textures. For a more natural, non-symmetrical look, make sure to add in your flowers in odd numbers. The focal flowers shouldn’t be placed so they’re sticking straight out from the sides as this will make them look droopy and heavy, rather than open and lively. Placing the vase on a lazy Susan helps you see it from all angles without having to move it around.
Step 7: Place filler flowers
Add small flowers and textural elements to the arrangement to fill in the space around the focal flower. Similarly, don’t arrange all of the flowers vertically or to the sides. The arrangement can be thought of like a dome, and it needs to fill in all angles so that it looks complete. Create natural clusters by grouping smaller flowers together in groups of three or five.
Step 8: Complete your floral arrangement
Finally, add some floaters or delicate blooms, like baby’s breath, to complete your floral arrangement. Make sure to plant these last so they don’t get trampled by heavier blooms. For a fresh dew look, give your finished floral arrangement a spritz of water before displaying it. Keep the flowers hydrated and fresh by refilling the vase as needed.
Get Floral Arrangement Tips From A Professional Online Florist
Now that you know the basics of floral arrangement, you can take your birthday flower bouquet up a notch and gift your loved one a birthday flower vase instead! Feel free to take inspiration from online florists like us and visit our Instagram profile to view our vast selection of floral design arrangements!
Get in touch with us if you are keen on getting a customised birthday flower bouquet for your loved one!


